Now, I had another demand to myself - street running! I did some research long time back on street running in California and the moment I saw those prototype photos, I knew I had to model this.
Another reason for finalizing this plan was that I could incorporate street running here - not literally, but every modern port has tracks concealed in concrete or asphalt - so from my perspective it's equivalent to street running - it looks similar, technique and technology is similar (for prototype) and street running modeling techniques are absolutely perfect for ports as well.
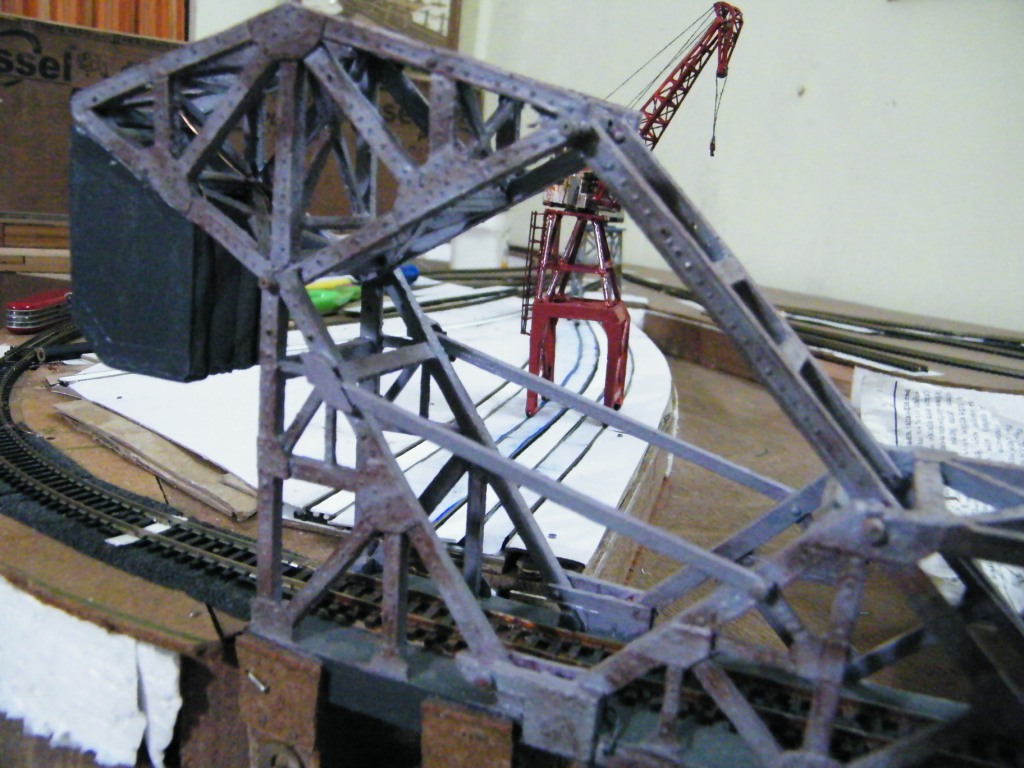
By the way, in the mean time the tracks for the cranes are also laid:


The modeling approach I adopted is actually from an article in Nov 2000 Model Railroader Mag. by John Pryke for his Union Freight layout. John used the technique for HO scale, but I figured that it can be easily adapted for N.
It's simple - mess free street modeling using cardboard and styrene. I used tracing paper to copy the track profile and used carbon paper to transfer it to Cardboard/Styrene. I used cardboard for the outer side of the rail - there is basically no risk factor at all. The cardboard is cut precisely as per the track profile using a hobby knife, then thick posterboard support below for strength and shape, then just glue it to the masonite. Just keep vigil that any part of the cardboard is not above the track level, especially the part adjacent to the tracks. This might (and will) derail trains.
The challenge is the inner side. Now in the article the method looked easy - and it is easy if you are HO and above. I realized that this wouldn't be a simple task the moment I started working on it. First of all it's half the size, secondly, 90% of tracks in my layout are curved, thirdly, N scale wheels need to have a lot of clearance which is not helpful for prototypical representation. Anyway, I started drawing the track profile on Styrene and cut them using a heavy duty scissor. Shape them using scissor and hobby knife. The pieces that went between the track had a bevel edge to facilitate easy wheel movement.

I used Micro-engineering wooden ties (used for hand laying track) as a support to these pieces:

Then just glue the styrene and dry for 2-3 hours (preferably with weight application).

Continuous testing for each piece is very important. Since this is at track level, the chassis of the loco might get stuck if there is a little bulge - also there is chance of derailment.
As of now, half the yard is done... need to do the rest. For fun, a small video... :)
No comments:
Post a Comment