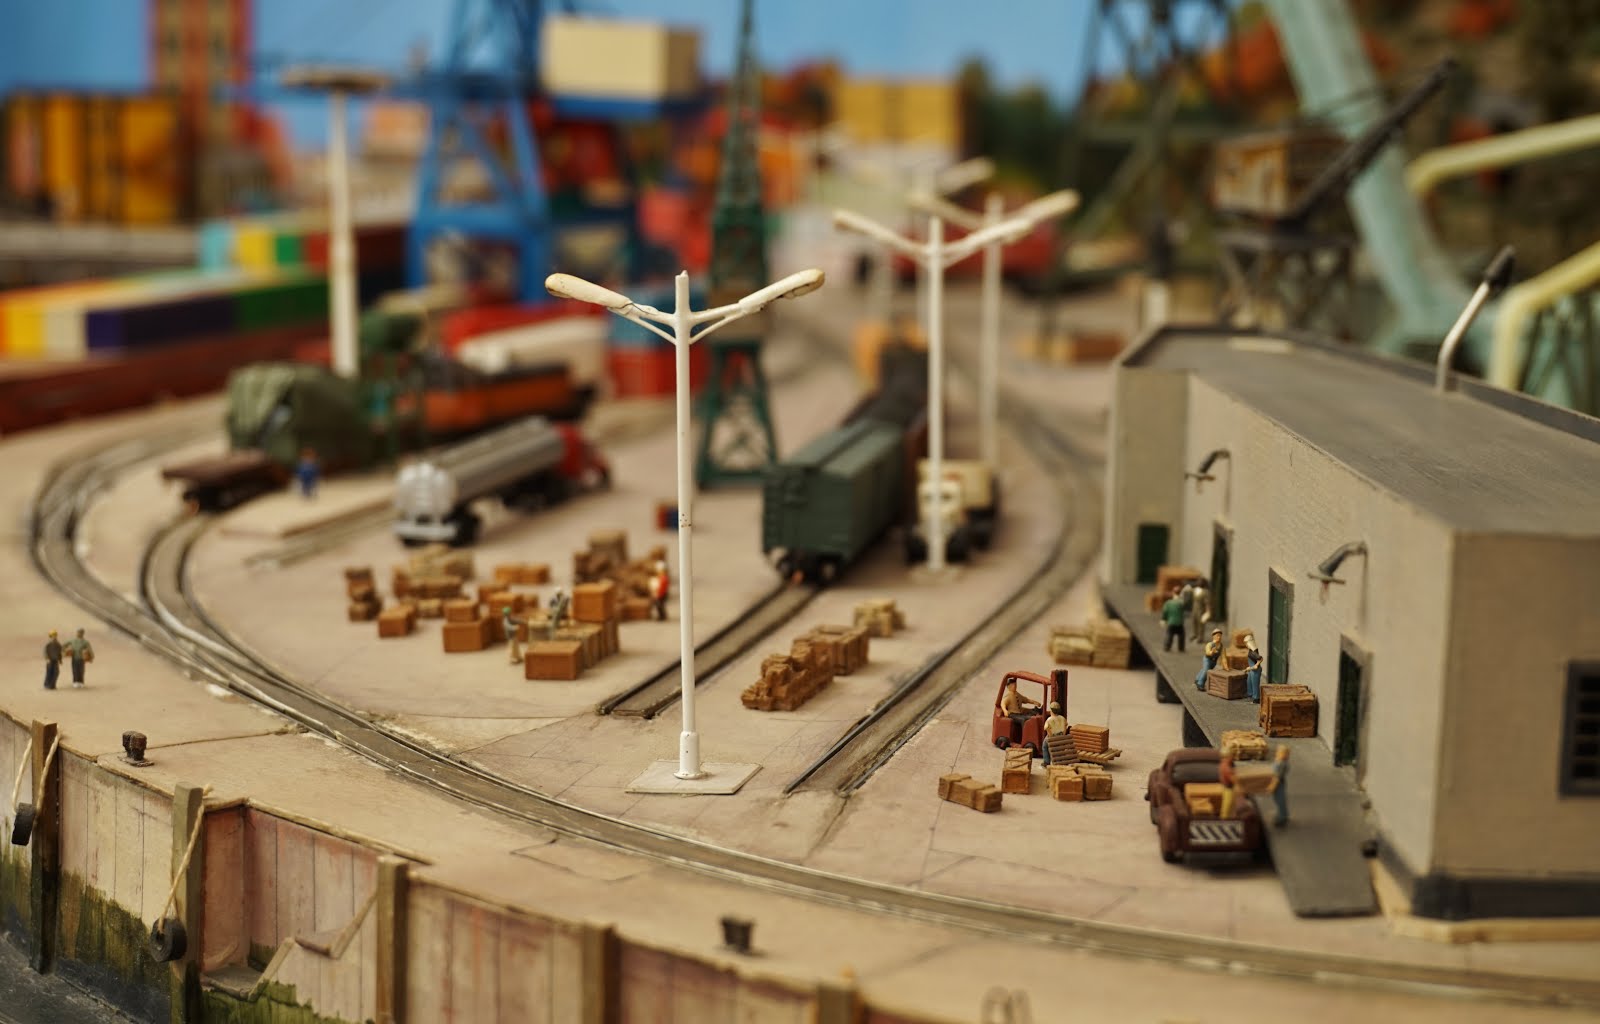
Well, despite having very less time for modeling, it seems I have renewed energy to see this project through somehow. Though nothing major, I added some more odd details around the layout, one of the major ones being installing over 20 bitts around the quay. Previously, I used various methods to make bitts, but this time I took to an easier path that can make really strong bitts - strong enough to take mooring line of size 8 threads anyway!
Couple of important aspect of my method is that firstly, my port surfaces are all cardboard. Secondly, underneath that cardboard throughout the edge of the port it's foam.
What I did first was painted a bunch of wooden toothpick burnt sienna. Notice those curving on top of the toothpicks and the big crevice right below the top 'blob' - that makes them natural selection for bitts.

I then drilled pair of holes in failry equal distanc at the edge of the port using #61 drill

I had then taken the pair of painted toothpicks and marked the required length to which they need to be trimmed to meet the required height.

Once the toothpicks are cut to size, I just pushed them through the holes that I just drilled

And finally when both are pushed all the way through, I got a pair of bitts

Once all the bitts are 'nailed' down, I did half the mooring for the largest ship on my layout Betelgeuse - just the bow line and one of the springers. The Stern line and the other springer will be moored in due time. The water level is pretty 'low' and looks pretty 'solid' to ensure that the stern of the ship doesn't start drifting towards the upcoming boat yard. After all, there hasn't been any serious accidnt in Wrightsville Port for last 5+ years though none of the boats had mooring on them all this while, so it is, truly, 'cosmetic'